
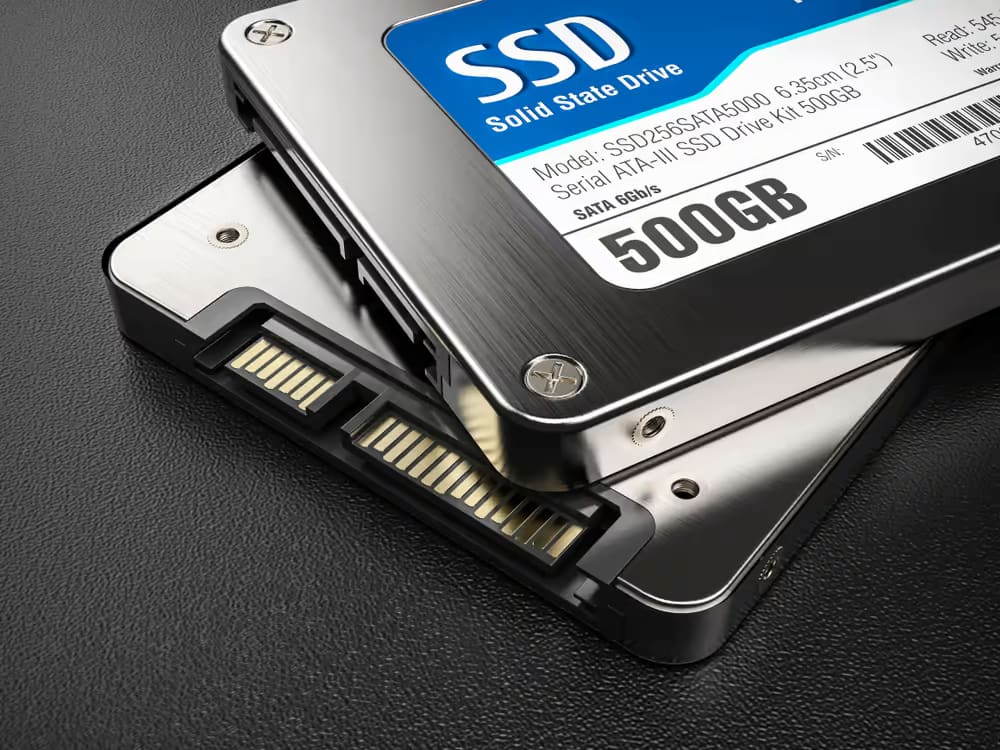
SSD TRIM is An operating system that can instruct a NAND flash solid-state drive (SSD) to erase certain data blocks if they are no longer needed using the Advanced Technology Attachment (ATA) command. The use of TRIM can increase the speed at which data is written to SSDs and help the SSDs last longer.
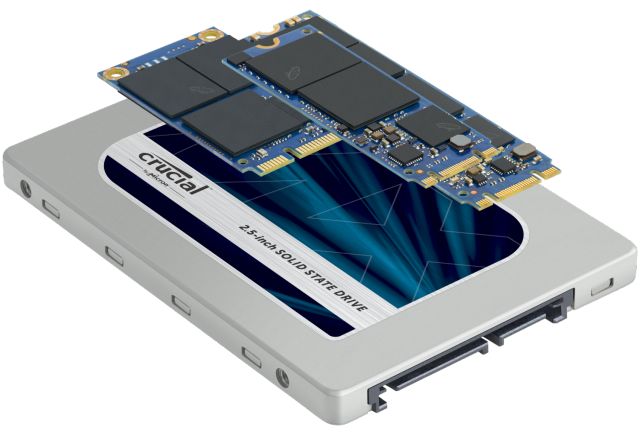
SSDs that support the Serial ATA (SATA) interface can make use of TRIM, which is not an acronym. The equivalent Small Computer System Interface (SCSI) command for use with SAS SSDs is UNMAP. For Peripheral Component Interconnect Express SSDs, the DEALLOCATE operation in the nonvolatile memory express (NVMe) command set offers a comparable capability.
The TRIM command has been added to the ATA standard by the T13 Technical Committee of INCITS, an international organization for information technology standards.
I’ll show you the post’s more in-depth details.
Table of Contents
What Is TRIM?
As was already mentioned, the TRIM command allows your operating system to inform the solid-state drive that a specific piece of data is no longer required and can be internally erased. If the TRIM feature is disabled on the drive, the SSD assumes the data is still valid until the operating system instructs the SSD to overwrite the data. Consequently, the drive’s usable storage space shrinks.
It’s crucial to understand the idea of garbage collection before understanding how the TRIM feature functions. Unlike HDDs, which can overwrite old data unless it is erased, SSDs cannot.
The process of garbage collection involves separating the invalid data from the valid data on a data block. During this procedure, the old data is completely erased from the old block, and the valid data is copied onto the new block. So that new data can be stored on the SSD, more space is made available for it.
Why Is TRIM Important?
- When the TRIM command is active, it can extend the lifespan of your SSD and speed up how quickly data is accessed by the computer.
- On SSDs, erasing and writing are the primary data storage techniques. The sector on the SSD is first erased and then rewritten when data that is no longer needed is written to it, which causes the delay.
- The significant delay is reduced thanks to TRIM, which allows the SSD to overwrite data without erasing the already-stored data.
- The security of your data stored on the solid-state drive is further improved by this command. Data recovery on your SSD becomes more challenging as a result. As a result, when new data is saved to the drive, the previously deleted data is overwritten. However, if the data is not overwritten you can retrieve deleted data from the SSD drive.
How Does The TRIM Command Operate?
- An SSD’s memory is divided into blocks, and each block is further subdivided into pages. SSDs, in contrast to operating systems, do not comprehend file systems and as a result only understand blocks as opposed to pages.
- The operating system notifies the SSD to TRIM the specific page information on the block that needs to be marked as ready to use when a TRIM command is issued, overwriting the previous data.
- As the garbage collection process takes place this newly marked invalid data is erased making more space for usable data
- The SSD’s life cycle shortens as the number of read, write, and erase cycles on individual pages or blocks rises. As a result, the SSD’s lifespan is extended by using this command to completely avoid erase cycles on the pages marked for deletion.
How Can I Tell If The TRIM Command Is Active On My Computer?
The TRIM features are now typically enabled by default on SSDs. However, we provide the following step-by-step procedure to check if TRIM is enabled on your SSD:
Step 1: Type cmd in the start menu.
Step 2: Right-click on the cmd suggestion and select Run as Administrator.
Step 3: In the command screen displayed type the command: “fsutil behavior query disabledeleteNotify” and hit enter
Step 4: if “DisableDeleteNotify=0” is displayed TRIM is enabled on the computer else if the value “DisableDeleteNotify=1” is displayed TRIM is disabled.
How To Enable SSD TRIM On A Mac
Make sure you’re logged into your Mac with an account that has Administrator privileges before enabling SSD TRIM. Then do the following:
- Run Terminal from Launchpad’s Other menu. By pressing the key combinations Command + Space, you can also use Spotlight to find it.
- Type in this command and press Enter:
- >sudo TRIMforce enable
- When prompted, enter your password.
- If you choose to proceed, the system will ask you after displaying a warning. Type in “y” and then press enter.
- The computer will then ask your permission before rebooting. Type “y” again then press enter.
You must now wait for the system to restart on its own before you can move on. You can confirm that TRIM is currently active on the system by checking again.
On Windows 11, 10, 8, And 7, How Do I Enable TRIM For SSD?
Step1: Type cmd in the start menu.
Step2: Right-click on the cmd suggestion and select Run as Administrator.
Step3: once the Administrator command prompt is open type the command: “fsutil behavior set DisableDeleteNotify=0” and hit enter
Step4: “DisableDeleteNotify=0” is displayed when the TRIM is enabled.
How Can I Turn Off TRIM On Windows 11, 10, 8, And 7?
Step1: Type cmd in the start menu.
Step2: Right-click on the cmd suggestion and select Run as Administrator.
Step3: once the Administrator command prompt is open type the command: “fsutil behavior set DisableDeleteNotify=1” and hit enter.
What Are The Cons Of TRIM?
TRIM improves the performance of your solid-state drive, as was previously mentioned. however, when you delete data, SSD also deletes the data blocks and pages where your information was previously stored. Therefore, the data block on your SSD is empty the next time your operating system wants to store data. Having said that, the main disadvantage of enabling TRIM Command is that it makes data recovery a very challenging task.
Before, users had no other choice, but as we already mentioned, turning off TRIM increases the likelihood of data recovery.
Note: If you have lost or deleted data from your SSD, we strongly advise that you stop using that SSD immediately because continued use could cause the SSD to be overwritten. This completely eliminates the possibility of retrieving data.
See more about
Make Sure TRIM Is Enabled
TRIM needs to be enabled for your SSD drive to operate properly. Windows 7 through Windows 10 operating systems should all have TRIM enabled by default. We’ll say it again: an SSD drive practically requires no maintenance.
If you’re not sure, press the Windows Key + S and type in Optimize drives and click on Defragment and Optimize Drives. Your drive ought to be identified as a solid state drive, and TRIM ought to be turned on.
To verify TRIM is enabled, open PowerShell or the Command Prompt and type in fsutil behavior query DisableDeleteNotify. You will get one of two responses:
DisableDeleteNotify = 0 TRIM is enabled
DisableDeleteNotify = 1 TRIM is disabled
If TRIM is disabled, type in fsutil behavior set DisableDeleteNotify 0, and you’re all set.
Once more, TRIM ought to be operating on a weekly schedule, but let’s confirm. Click on your SSD drive and then click on Optimize. Next, click on Change Settings. Verify that Run on a schedule is set to weekly. Whatever your computer usage is, this is the setting you want. The second box, Increase task priority, should be checked.
Final Words
The speed, functionality, and longevity of your SSD can all be improved with SSD TRIM, but it is not without its flaws. The most serious flaw is that it is impossible to recover deleted files from SSD drives that have the TRIM command enabled. So, use caution when emptying the Mac Trash.
I appreciate you reading, a lot.